
Want to save a video call moment, show a family member how to use an app, or record a gameplay clip? Android Screen Recording lets you capture everything on your phone screen as a video, with or without sound. Most Android phones in 2026 have a built-in screen recorder, so you do not need any extra app. In this guide, you will learn seven easy ways to record your screen on Samsung, Xiaomi, Realme, Oppo, Vivo, OnePlus, Motorola and Google Pixel phones, how to record internal audio, and how to fix common recording problems.
We also cover privacy rules, the best settings for clear videos, and how to share your recordings without losing quality. By the end, Android Screen Recording will feel as easy as taking a screenshot.
Table of Contents
What Is Android Screen Recording?
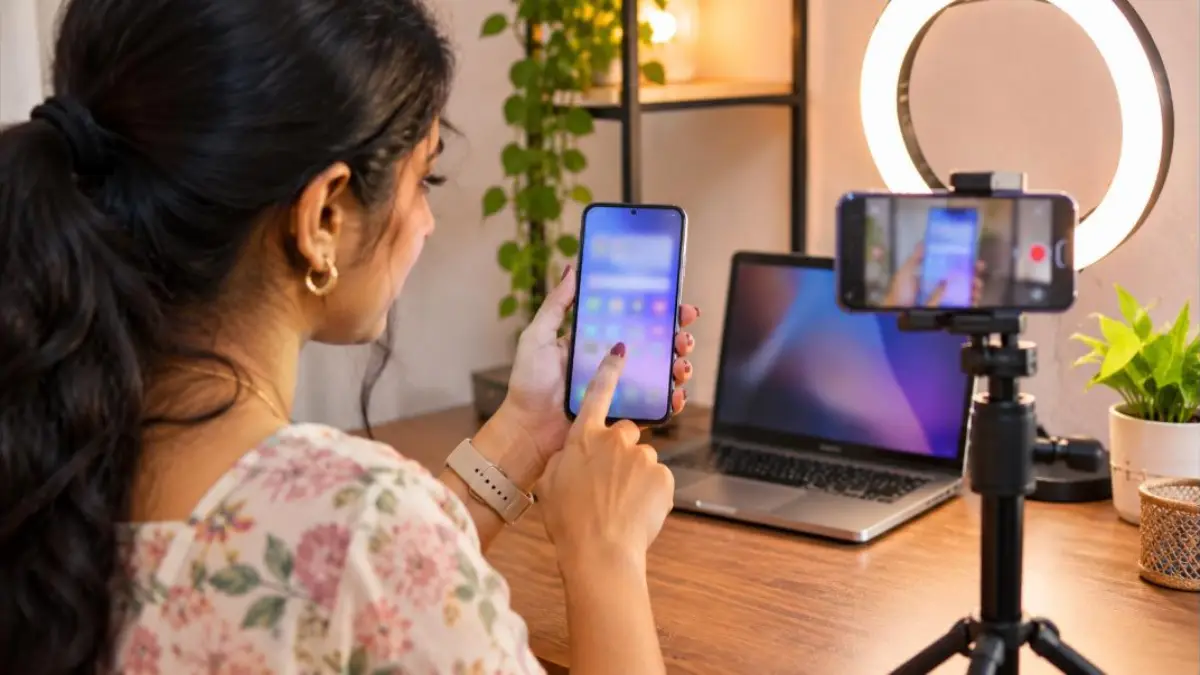
Android Screen Recording is a feature that captures your phone display as a video file, usually in MP4 format. It can include the sound coming from the phone (internal audio), sound from the microphone (your voice), or both. It can also show your taps on the screen, which is helpful for tutorials. The built-in recorder became a standard feature from Android 11 onwards, and most brands add extra options in their own interfaces.
What You Can Use It For
- Making app tutorials for parents and friends
- Recording gameplay highlights
- Saving steps of an online process for later reference
- Reporting a bug or app problem to customer support
- Creating content for YouTube Shorts, Instagram Reels or WhatsApp Status
- Recording online classes or webinars, where permitted
Before You Start: Quick Checklist
| Check | Why it matters |
|---|---|
| Android version 11 or later | Built-in recorder is available on most phones |
| Free storage space | Videos can use hundreds of MB per few minutes |
| Do Not Disturb on | Prevents notifications from appearing in the video |
| Battery above 30 percent | Recording uses extra power |
| Close sensitive apps | Avoid recording banking details or OTPs |
If your phone storage is almost full, clear space first using our guide to free up Android storage.
7 Easy Ways for Android Screen Recording
1. Built-in Screen Recorder from Quick Settings (Most Phones)
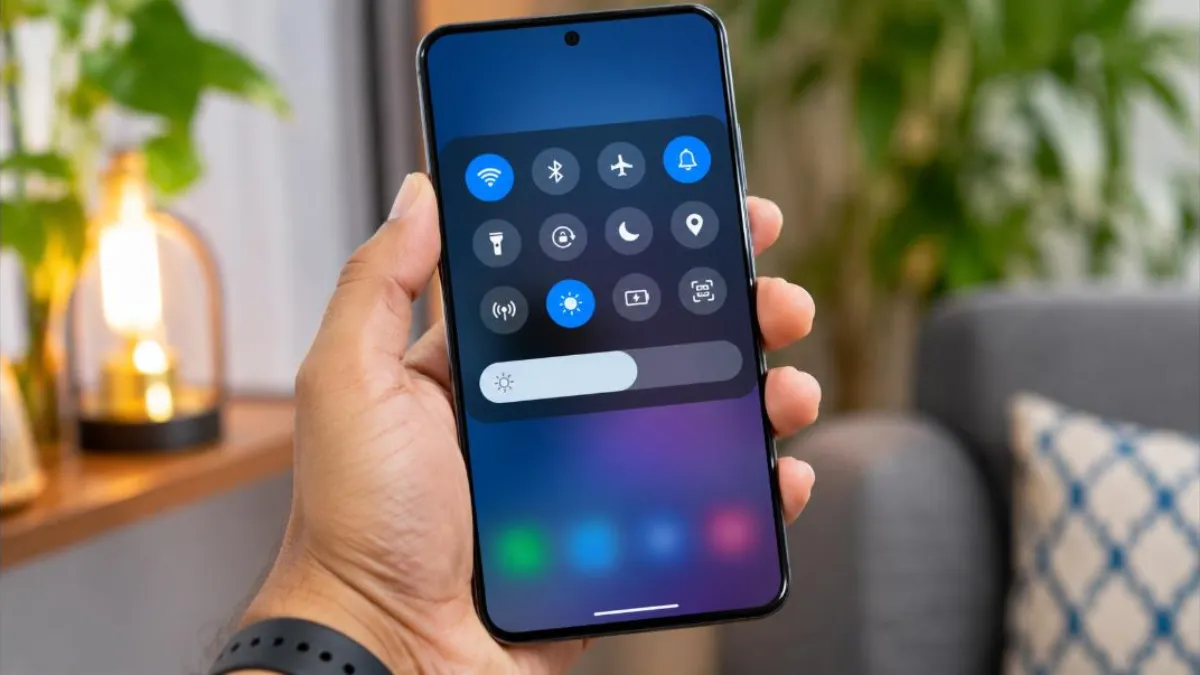
- Swipe down twice from the top of the screen to open Quick Settings.
- Look for the Screen record or Screen recorder tile. If you do not see it, tap the pencil or edit icon and drag the tile into the panel.
- Tap the tile. Choose audio options: no sound, media sounds, microphone, or both.
- Turn on “Show touches on screen” if you want taps to appear.
- Tap Start. After a short countdown, recording begins.
- To stop, pull down the notification shade and tap the recording notification or the stop button.
The video is saved in your Gallery or Photos app, usually in a “Screen recordings” folder.
2. Samsung Galaxy Phones
On Samsung phones with One UI, open Quick Panel and tap Screen recorder. Choose “No sound”, “Media sounds” or “Media sounds and mic”. In Settings > Advanced features > Screenshots and screen recordings, you can choose video quality and selfie video size. Samsung also lets you draw on the screen while recording, which is great for tutorials.
3. Xiaomi, Redmi and POCO Phones
Xiaomi phones have a Screen Recorder app and a Quick Settings tile. Open the tile or app, tap the record button, and a floating button appears. Tap it to stop. In the Screen Recorder settings, you can choose resolution, video quality, frame rate and sound source.
4. Realme, Oppo and OnePlus Phones
These phones use ColorOS or OxygenOS based interfaces. Open Quick Settings and tap Screen Recording. A floating bar shows recording time and a stop button. In Settings, search “Screen recording” to adjust sound, resolution and front camera overlay.
5. Vivo and iQOO Phones
On Funtouch OS or OriginOS, open the Control Centre and tap Screen Recording. You can also find it under Settings > Shortcuts and accessibility > Screen recording. Choose sound options and start. Some models support a “Super Screenshot” menu that includes recording.
6. Google Pixel and Motorola Phones
Pixel and Motorola phones use a clean Android interface. Open Quick Settings and tap Screen record. Select “Record audio” and choose “Device audio”, “Microphone” or “Device audio and microphone”. Newer Android versions also let you record a single app instead of the entire screen, which protects your notifications and other apps from being recorded.
7. Using Google Play Games or a Third-Party App
If your phone does not have a built-in recorder, you can use a trusted app from the Play Store. Choose apps with good ratings, few permissions and a clear privacy policy. Popular screen recorder apps let you trim videos, add facecam and draw on screen. Avoid apps that ask for unnecessary permissions like contacts or SMS.
How to Record Internal Audio
Internal audio means the sound from games, videos or apps, not from the microphone. Android Screen Recording supports internal audio on Android 10 or later in most phones, but some apps block it for copyright or privacy reasons.
- Select “Media sounds” or “Device audio” in the recorder options.
- Keep phone volume at a comfortable level; it does not affect recorded volume on most phones.
- For voice-over tutorials, choose “Device audio and microphone”.
- Record in a quiet room to avoid background noise.
- Note that some apps, such as certain streaming and calling apps, may block audio or show a black screen.
Best Settings for Clear Recordings
| Setting | Recommended | Why |
|---|---|---|
| Resolution | 1080p | Sharp video with manageable file size |
| Frame rate | 30 fps for tutorials, 60 fps for games | Smooth motion where needed |
| Bitrate / quality | Medium or High | Balance between clarity and size |
| Show touches | On for tutorials | Viewers can follow your taps |
| Orientation | Portrait for Reels/Shorts, landscape for YouTube | Fits the platform |
Common Android Screen Recording Problems and Fixes
| Problem | Fix |
|---|---|
| Screen record tile missing | Edit Quick Settings and add the tile; or search “screen record” in Settings |
| No sound in recording | Select media or device audio; some apps block audio |
| Black screen in video | The app blocks recording (banking, OTT); this is a security feature |
| Recording stops suddenly | Free storage, close heavy apps, disable battery optimisation for recorder |
| Laggy video | Lower resolution or frame rate, close background apps |
| Cannot find saved video | Check Gallery > Screen recordings or Files > Movies/DCIM |
Recording also uses a lot of processing power, so long sessions can warm the phone. If your phone slows down while recording, see our phone hanging problem fix guide.
Privacy and Legal Points
Android Screen Recording is powerful, so use it responsibly. Do not record other people’s video calls or private chats without their consent. Laws on recording conversations differ by place, and recording someone without permission can break trust or even the law. Never share recordings that contain bank details, OTPs, passwords or personal information. Many banking and payment apps block recording to protect you, which is why you may see a black screen in them.
How to Edit and Trim Screen Recordings
After Android Screen Recording, you will often want to cut the beginning and end where you opened and closed the recorder. Most Gallery apps have a built-in video editor.
- Open the recording in Gallery or Google Photos.
- Tap Edit.
- Drag the handles on the timeline to trim the start and end.
- Use crop to remove the status bar if needed.
- Save as a copy so the original remains safe.
For more advanced edits like adding text, music or zoom effects, use a trusted video editing app. Keep the final video short and focused, especially for tutorials meant for elderly family members.
How to Share Recordings Without Losing Quality
- WhatsApp: Use the “HD” option when sending, or send as a document to avoid compression.
- Google Drive: Upload and share a link for long recordings.
- YouTube: Upload directly from the Gallery or YouTube app; use “Unlisted” for private sharing.
- Email: Large files may exceed limits; use a cloud link instead.
- Nearby Share / Quick Share: Fast transfer to nearby Android devices.
Android Screen Recording for Tutorials: Tips
If you are recording to teach someone, a little planning makes your video much clearer.
- Turn on “Show touches” so viewers see where you tap.
- Increase font and display size temporarily so text is readable.
- Speak slowly and explain each step while recording microphone audio.
- Hide notifications with Do Not Disturb.
- Keep one task per video, such as “how to pay electricity bill”.
- Use a clean home screen without personal widgets.
Android Screen Recording for Gaming
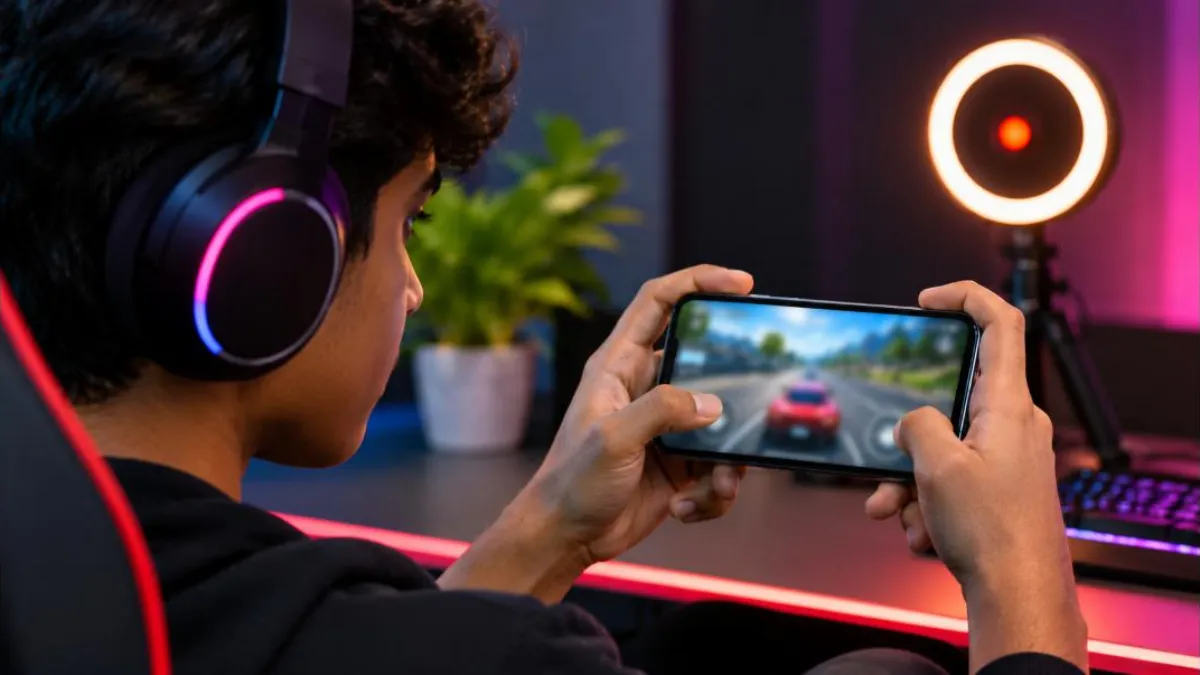
Gamers love sharing clips of their best moments. For gameplay, record at 60 fps if your phone supports it, use device audio only to avoid background noise, and enable game mode to reduce interruptions. Some phones offer a Game Space or Game Turbo panel with a built-in recorder and performance controls. Keep in mind that recording while playing heavy games increases heat and battery use, so take breaks.
Screen Recording Apps vs Built-In Recorder
| Feature | Built-in recorder | Third-party apps |
|---|---|---|
| Cost | Free | Free with ads or paid |
| Privacy | Part of system, fewer permissions | Depends on the developer |
| Watermark | None | Some free apps add watermarks |
| Editing tools | Basic trim in Gallery | Advanced editing, facecam, drawing |
| Internal audio | Supported on most new phones | Depends on Android version and app |
For most people, the built-in option is the best choice. Use third-party apps only if you need advanced features.
Record Only One App (Partial Screen Sharing)
Newer Android versions let you record a single app instead of the full screen. When you start Android Screen Recording, choose “A single app” and select the app. Notifications and other apps will not appear in the video, which is excellent for privacy. This option may not be available on all phones yet, depending on the brand and Android version.
Android Screen Recording on Older Phones
If your phone runs Android 10 or older and has no built-in recorder, you still have options. Some brands added recorders earlier through their own interfaces, so search “screen record” in Settings first. If nothing appears, install a reputable recorder from the Play Store. On very old Android versions, internal audio recording may not be supported, so your video may only capture microphone sound. Consider updating the phone if a newer software version is available.
Storage Space Needed
| Recording length | 720p (approx.) | 1080p (approx.) |
|---|---|---|
| 1 minute | Small | Medium |
| 10 minutes | Medium | Large |
| 30 minutes | Large | Very large |
Actual file size depends on resolution, frame rate, bitrate and screen activity. Fast-moving games create larger files than static app tutorials. Back up recordings to the cloud and delete them from the phone if storage is limited.
Android Screen Recording Step-by-Step Example
Here is a real example of recording a short tutorial for your mother on how to check her electricity bill online.
- Turn on Do Not Disturb so no messages pop up.
- Open the bill payment app and log out of sensitive screens.
- Pull down Quick Settings and tap Screen record.
- Select “Microphone” so you can explain each step.
- Turn on “Show touches”.
- Tap Start and slowly go through each step while speaking.
- Stop the recording from the notification.
- Trim the start and end in Gallery.
- Send it on WhatsApp in HD.
Accessibility Benefits
Android Screen Recording is helpful for people who find it hard to remember steps, including seniors and people with learning differences. A short video they can replay is often easier to follow than written instructions. Teachers, NGOs and help desks also use recordings to explain government portals and app processes in local languages.
Android Screen Recording Quick Reference by Brand
| Brand | Where to find it | Extra feature |
|---|---|---|
| Samsung | Quick Panel > Screen recorder | Draw on screen, selfie video overlay |
| Xiaomi / Redmi / POCO | Screen Recorder app or tile | Floating button, frame rate options |
| Realme / Oppo / OnePlus | Quick Settings > Screen Recording | Front camera overlay |
| Vivo / iQOO | Control Centre > Screen Recording | Super Screenshot menu |
| Google Pixel / Motorola | Quick Settings > Screen record | Single app recording on new versions |
Android Screen Recording Safety Checklist
Before every Android Screen Recording session, take ten seconds to protect your privacy. Turn on Do Not Disturb, close chat and banking apps, hide your notification panel content, and avoid opening email or photos you do not want to share. After recording, watch the video once before sending it to make sure no personal information appears. These habits make Android Screen Recording safe for everyday use at home, at work and in classrooms.
If you record often, create a separate home screen page with only the apps you use in tutorials. This keeps your videos clean and saves editing time, and it makes Android Screen Recording look more professional when you share it on social media or with colleagues.
Real-Life Examples
Example 1: Helping parents with UPI
Anand recorded a two-minute video showing his father how to scan a QR code and check payment history. His father now watches it whenever he forgets a step.
Example 2: Reporting an app bug
Sneha’s shopping app kept crashing at checkout. She recorded the screen and sent it to customer support, who quickly identified the issue.
Example 3: Gaming highlights
Rohit used his phone’s game panel to record 60 fps gameplay and shared clips on YouTube Shorts without any extra app.
Common Mistakes to Avoid
Many first-time users make small mistakes that spoil a good recording. The most common one is forgetting to turn on Do Not Disturb, which lets private messages pop up in the middle of the video. Another is choosing the wrong audio source, so the final video is silent or full of background noise. Some people record in landscape when the video is meant for Reels, or leave long blank parts at the start and end.
Before you share, play the recording once from start to finish. Check that the sound is clear, the text is readable, no personal details are visible, and the length is right for the platform. A quick review saves you from re-recording later and makes your videos look polished.
Frequently Asked Questions
How do I start Android Screen Recording?
Swipe down twice to open Quick Settings and tap Screen record. If the tile is missing, edit the panel and add it.
Can I record screen with sound on Android?
Yes. Choose media sounds or device audio for internal sound, microphone for your voice, or both.
Why is my screen recording black?
Some apps, such as banking and streaming apps, block screen recording for security and copyright reasons.
Where are screen recordings saved?
Usually in Gallery or Google Photos under a “Screen recordings” folder, or in Files under Movies or DCIM.
Is screen recording free on Android?
Yes. The built-in recorder on most phones is free and adds no watermark.
Can I record only one app?
On newer Android versions you can choose to record a single app, keeping notifications and other apps private.
Conclusion
Android Screen Recording is a simple, free and useful tool for tutorials, gameplay, bug reports and content creation. Use the built-in recorder from Quick Settings, choose the right audio and quality settings, protect your privacy, and trim before sharing. For official instructions, see Google’s screen recording help and your phone brand’s support pages such as Samsung Support.